Case Study: WP Express
For the longest time my WordPress project creation process went like this:
- Create a new local host
- Create a new database
- Download the latest version of WordPress
- Run through the WordPress install process manually entering details
- Copy over my custom base theme and plugins
- Update plugins
It seemed infrequent enough and that it wasn’t worth the time to automate. In 2015 I came to grips with the reality that I did this often enough to warrant something to alleviate the monotonous start of every new engagement, but what?
I’d seen some scripts others had created using wp-cli that looked promising, but I had some additional requirements to make setting up, or using existing databases, easier. Each project typically used slightly different plugins as well, so if I needed to swap them out I’d be editing the script for every project anyway.
I needed something with a quick way to list out options, save settings, and allow quick toggling on/off for certain items.
The Interface
I’d been using Prepros to compile/compress assets, as well as live browser syncing and was curious how it was built. Eventually I discovered it was built using node-webkit (now NW.js) It was fascinating to me how the developer had built a cross platform app using web technologies.
Seemed like it had potential to create the interface I needed for my WordPress installer.
Hello World
The very first step was to see if I could even get things running. Turns out it wasn’t too difficult:
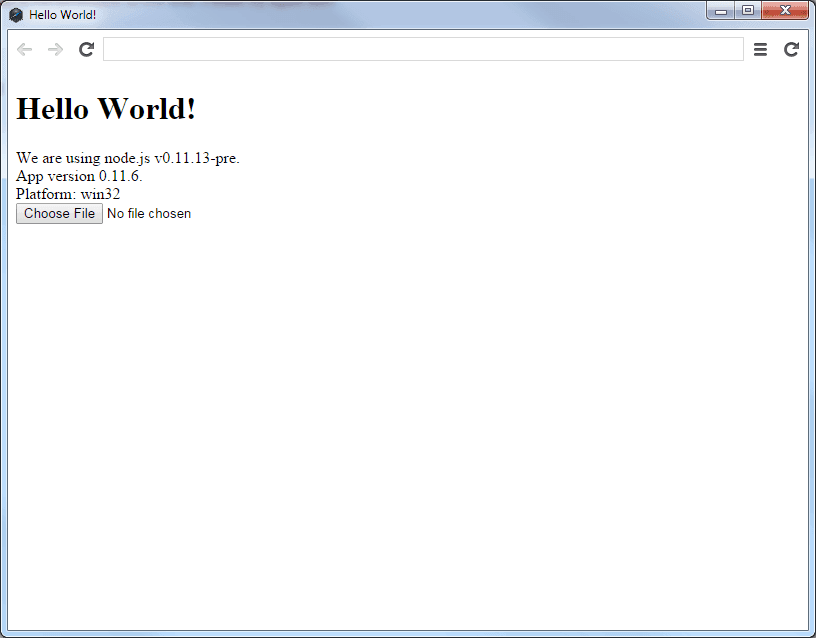
Maybe you could tell from this screenshot, but my primary development environment is Windows. Most of the time this is fine, but a lot of newer technologies are built with OSX/linux in mind first, and Windows is an afterthought. It’s one of the reasons a solution like node-webkit was very appealing since it would run on any platform I needed.
Basic Functionality
Here’s where I got stuck. I knew what I wanted it to do, but I couldn’t figure out how to do it. The trouble was packaging things up so wp-cli could run regardless of the environment. It seemed like I would need a local server of some sort to run the script, and then interact with the user’s files.
Turns out I was overthinking things.
In the end all I needed was to packaged up a php.exe for Windows, and a php binary for OSX with the required modules. Done!
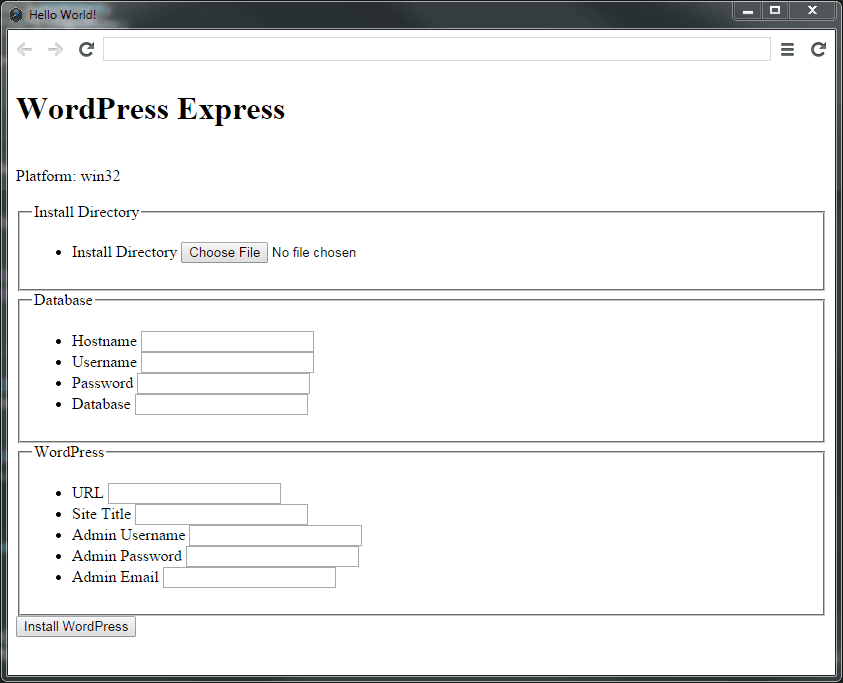
Now I finally had an application that would grab the latest version of WordPress, automatically set up the database, and do it all with a push of a button. It was usable, but it wasn’t pretty.
Smoothing the Edges
The easiest way to clean up the styles was to add Bootstrap. It would look generic, but it would be easier on the eyes to parse through the inputs.
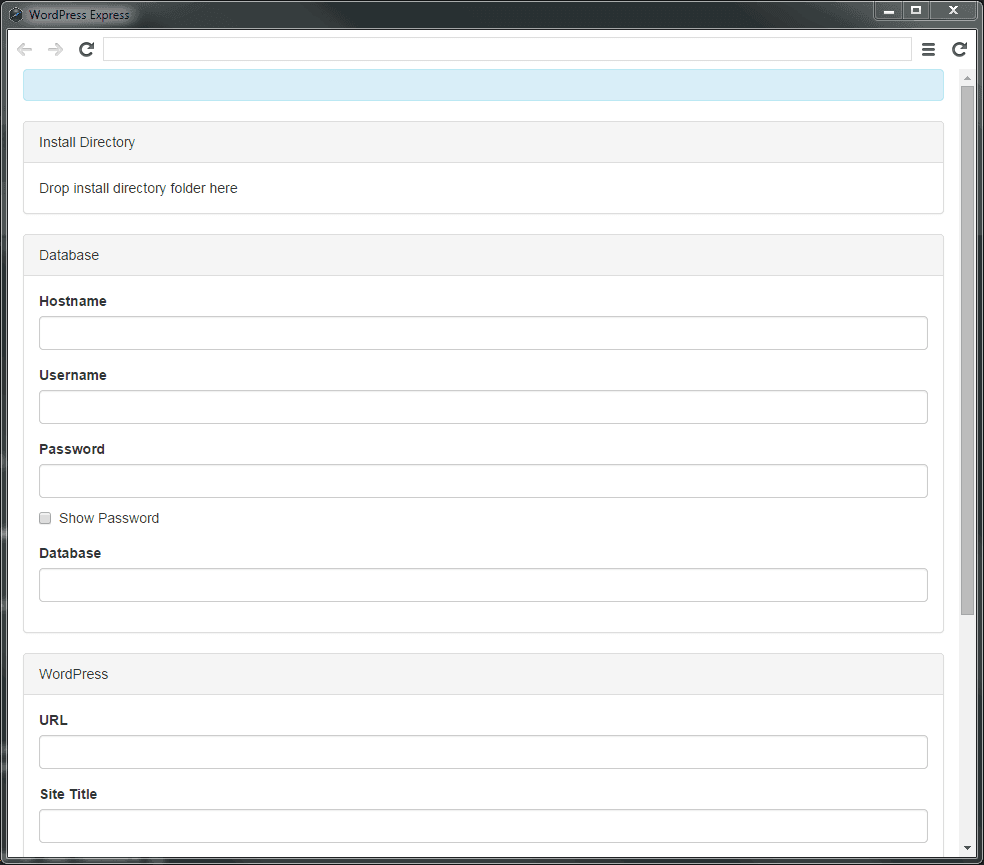
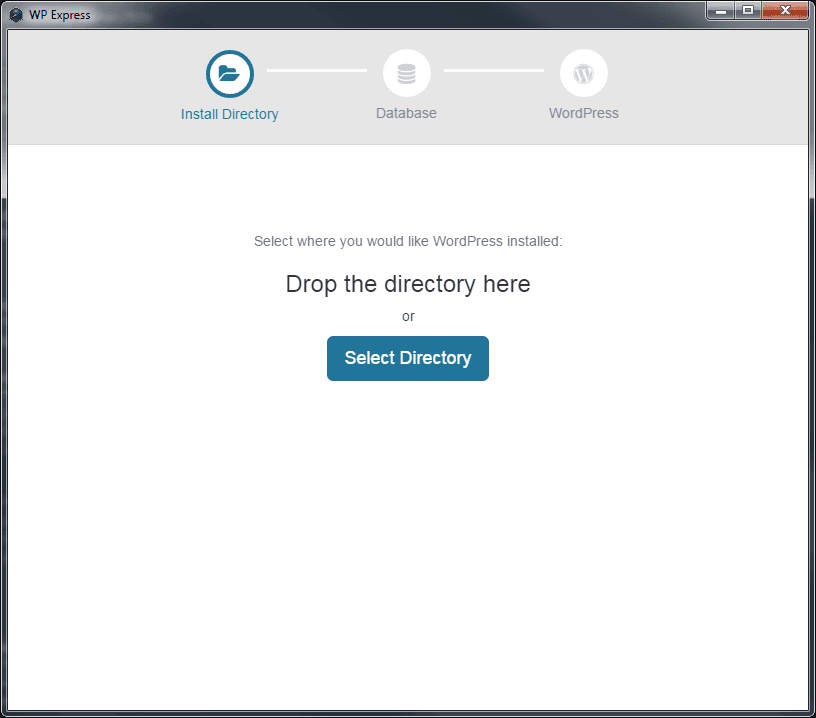
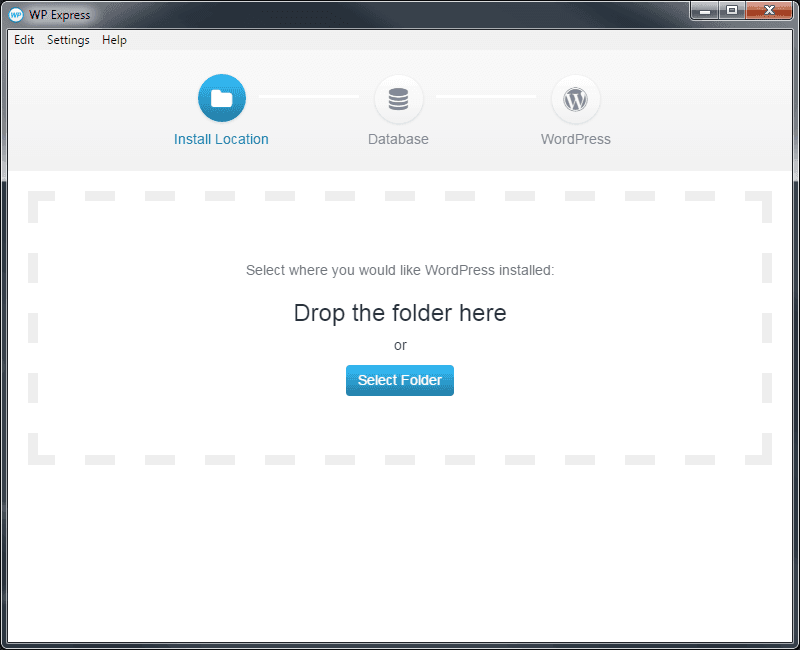
After using the application it seemed easier to have a drag/drop interface for folder selection. Shaved off some time digging through directories when I usually had my destination open anyway.
It was at this point that the application seemed like it could help others as well. Though it would require more thought into the interface and guiding users through the process.
Breaking It Down
The first step for public release was streamlining the install process. Breaking it down into manageable chunks so users wouldn’t be overwhelmed.
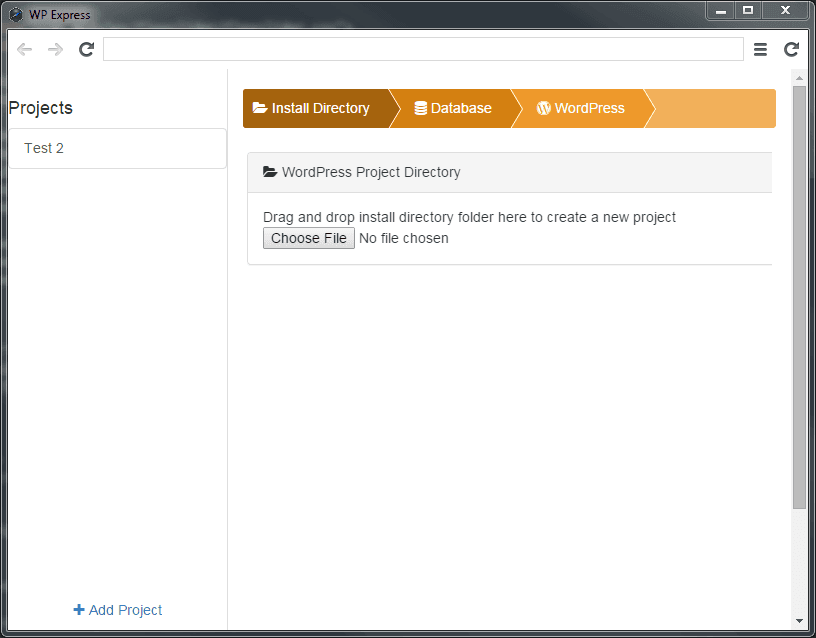
The idea with the “Projects” section was to allow users to store their projects, or add existing installs, to be able to update and manage them all from the application. I quickly realized this wasn’t the point of the application and just cluttered the interface.
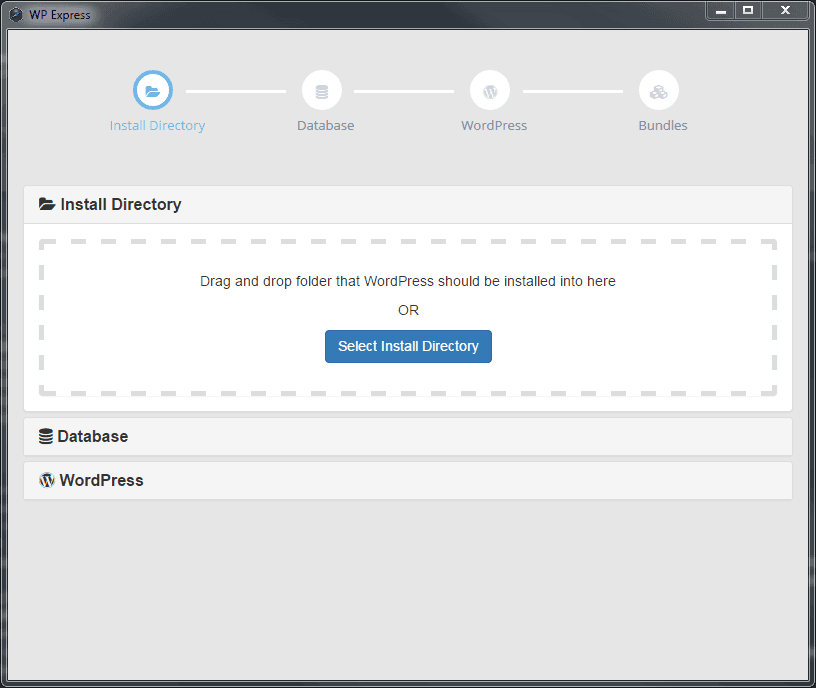
During the second iteration the focus was on removing any non-essential elements. The progress indicator was given less prominence, and more real-estate was devoted to guiding the user in the current step. The palette was also modified to feel more like WordPress.
It seemed redundant to have the collapsible tabs displayed in the area that the user needed to perform an action. Though it did have a nice open/close effect it felt crowded to have everything happening in a compact space. Sections with more fields would also push the application window unnecessarily far and create a scroll bar, not ideal.
At this point the interface felt smooth. Continuing to use it on my projects it actually felt useful, and like it was saving me time and effort. It was ready to roll out but I had a major hesitation: the application could not be updated without manually downloading the application and installing again. This was an unfortunate limitation of node-webkit at the time, and I was searching for workarounds.
There were several reasons I didn’t feel comfortable releasing without an easy method to update:
- I would need to build something in to the application, or email users, every time there was an update available and create more work for them to update it
- If there were critical flaws/errors I had no control over correcting them until the user took action
- It’s an expectation that apps installed on the desktop had a method to update themselves
Enter Electron
I’d heard whispers of Electron (formerly Atom Shell) after Github had released Atom. At the time it didn’t seem to have much benefit vs node-webkit, but that all changed in late 2015. They had rolled out a lot of new features since I’d last looked, including auto-updates for Windows. Perfect.
I began to research what it would take to convert the currently node-webkit app to Electron. Ended up taking one hour. Huzzah!
With the spare time I cleaned up the interface to jive with the branding and make things feel extra clear to those using the app.
Launch
The last 10% takes 90% of the time they say, in this case it felt like that was true. The road to launch included:
- Setting up the release server (though Electron has auto-updates you still need to create the server yourself)
- Acquiring Apple Developer Certificate (otherwise your app can’t be installed unless the user has explicitly allowed it)
- Acquiring Microsoft Developer Certificate (otherwise your app triggers the unsettling warning that it’s not certified)
- License Key Activation (application licensing to unlock features for power users)
- Creating the logo, final look and feel
- Setting up the website
- Creating a demo video (for free and pro versions)
- Setting up payment processor/license key integration for pro version
- Setting up support using Help Scout
Whew.
Retrospective
I continue to use this application on every new project, and it feels so much easier to get started.
It was a great experience to follow this project through to a public release. I’m amazed at how much time/effort had to go in to make it ready for general consumption compared to standard web development.
Electron (or NW.js) are solid solutions for those looking to use their existing web development skills to create desktop applications for Windows, OSX, and Linux. You can quickly spin up an application and have access to a wide array of native functionality. Though there are quite a few things to trip over (especially if you’re developing on Windows) including things like certification and the release server if you haven’t done it before.
These two things: certification and the release server, accounted for the vast majority of the pre-launch time and effort. I’m working on putting together a resource to help those who have web development skills avoid these time sinks over at Learn Electron. I do believe it is a great tool for web developers to extend their reach, but there is a learning curve on the tail end to actually get things to the public.